
Sync files
Create a sync task
Use a sync task to keep a folder on your Windows PC synchronized with a folder on a computer, NAS device, or cloud storage.
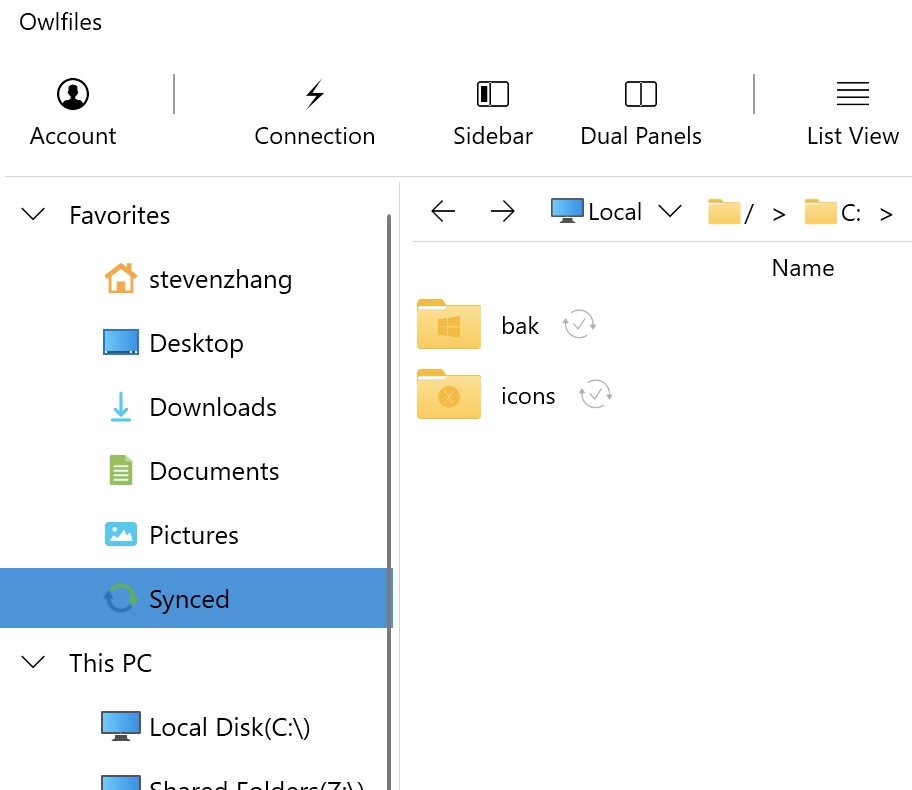
- Open Synced in the sidebar.
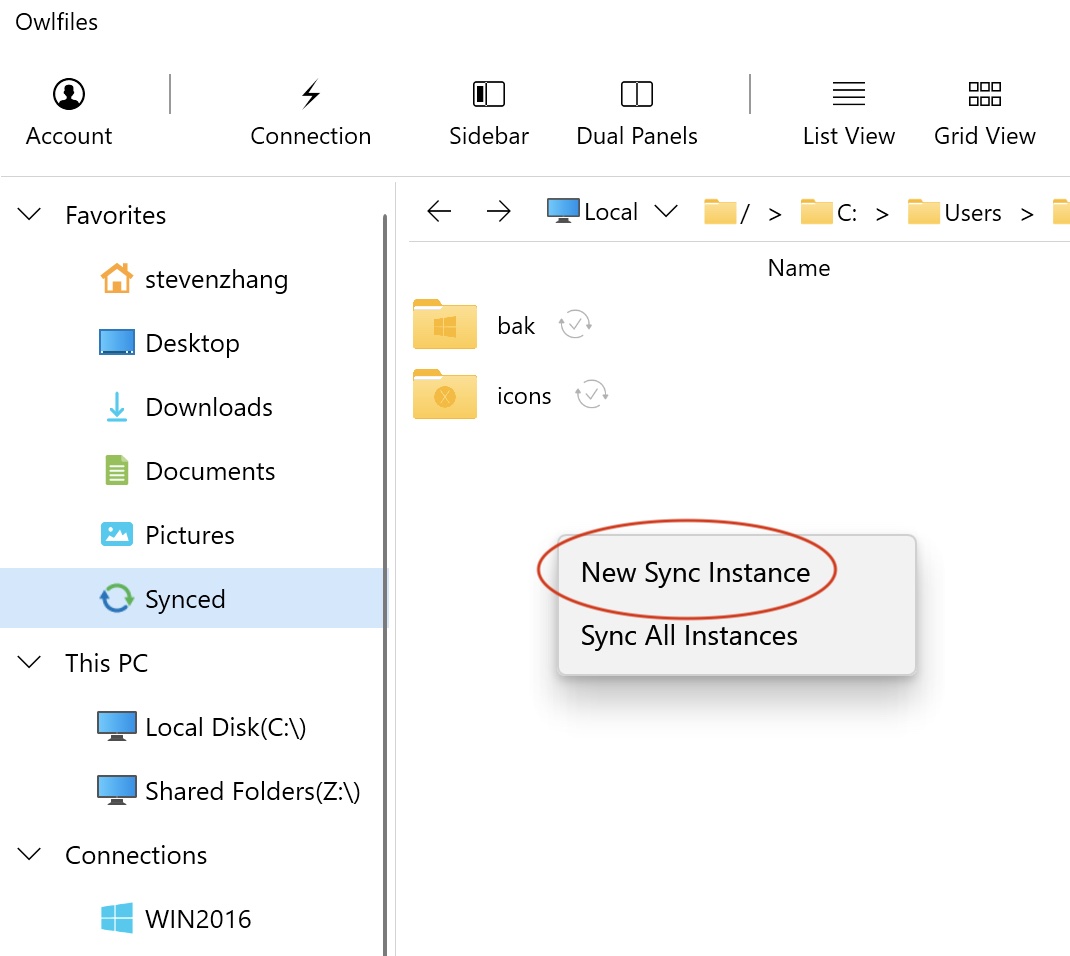
- Open the context menu and click New Sync Instance.
- Select a local folder and a remote folder, then click Next.
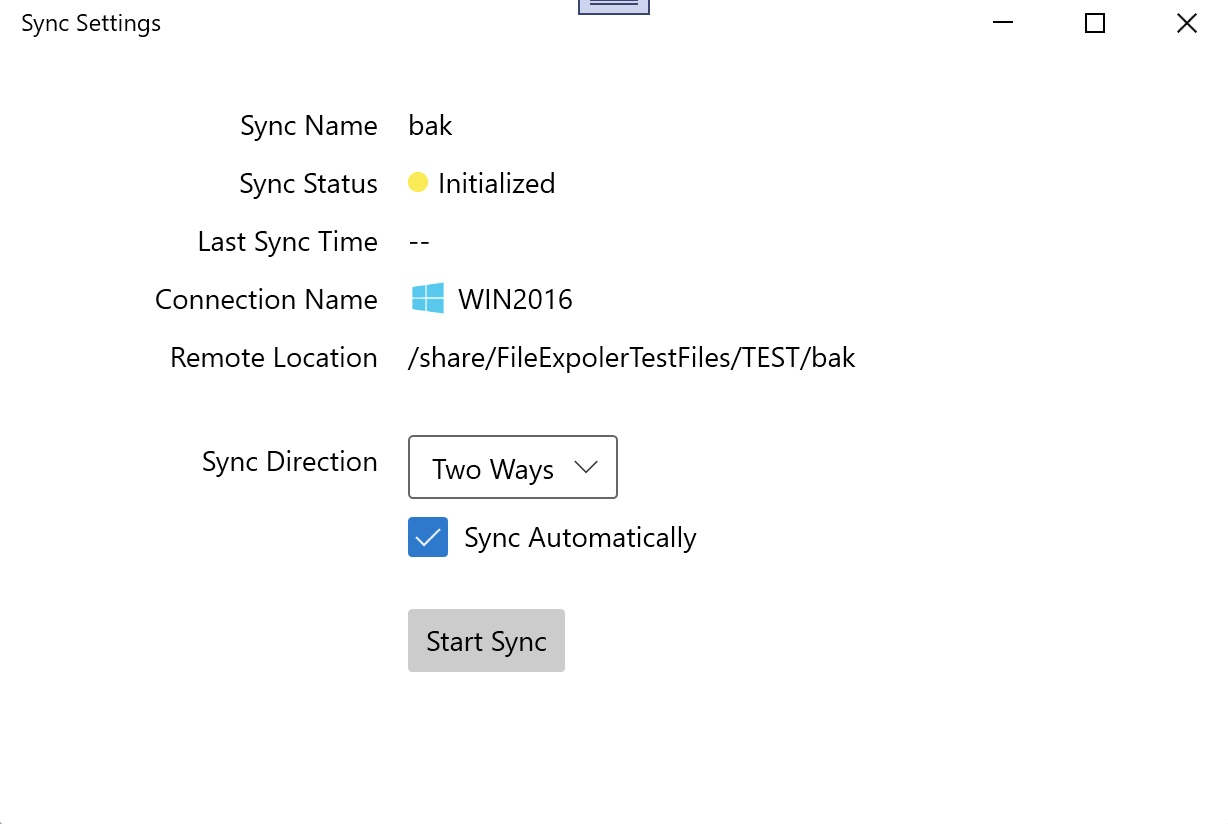
- Choose a sync direction:
- From Remote to Local copies remote changes to your Windows PC. Changes on your PC are not copied to the remote location.
- From Local to Remote copies changes on your Windows PC to the remote location. Changes at the remote location are ignored.
- Two Ways keeps both folders synchronized.
- To run the task at a set interval, turn on Sync Automatically. Set the interval in the app settings.
- Click Start Sync.
Run a sync task
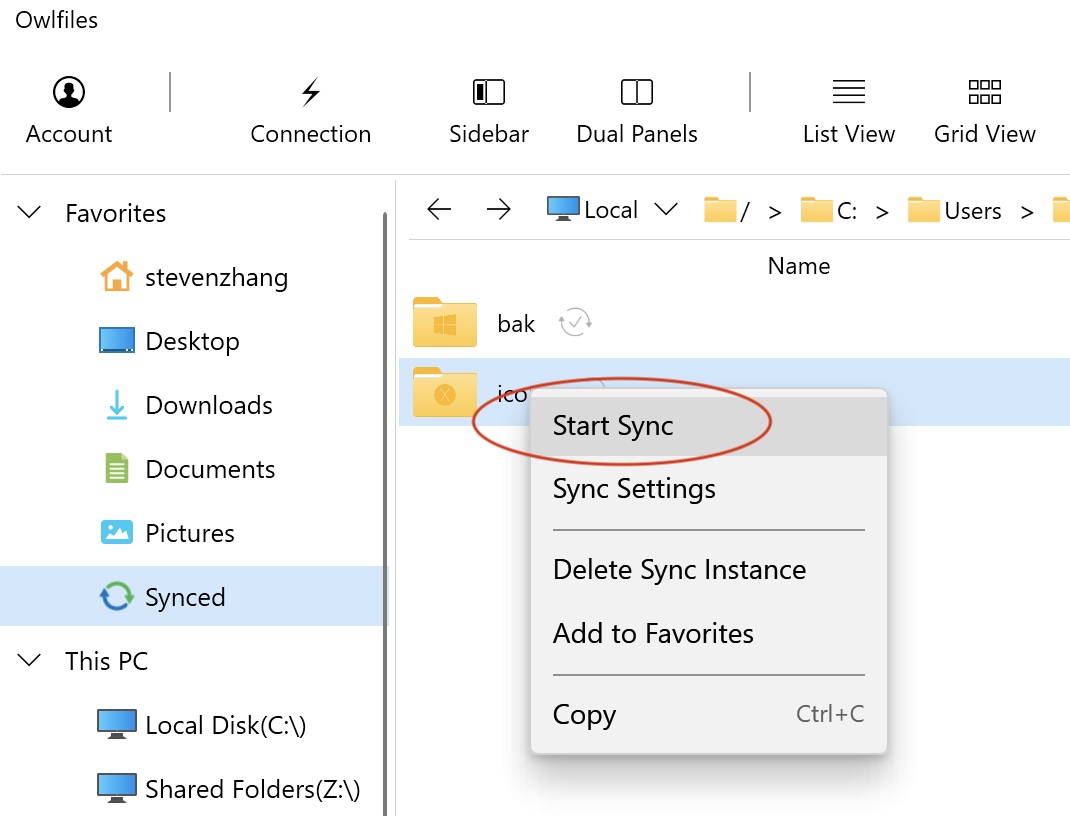
- Open Synced in the sidebar.
- Right-click the sync task and click Start Sync.
Delete a sync task
Right-click the sync task and click Delete. Its data on your Windows PC moves to the Recycle Bin; remote data remains unchanged.